How To Know If Someone Blocked You On iMessage? 5 Secret Hacks!
Apr 16, 2025

Apr 16, 2025

Apr 16, 2025

Apr 15, 2025

Apr 11, 2025

Apr 11, 2025

Apr 11, 2025

Apr 08, 2025

Mar 29, 2025
Sorry, but nothing matched your search "". Please try again with some different keywords.


Every business in 2023 wants to create its own websites. Whether it’s for digital marketing purposes or for providing customers with an eCommerce selling platform, having a business website is crucial. Since the cost of eCommerce Website Development can be pretty high, many entrepreneurs are looking for cheaper alternatives by trying to create GoDaddy website.
Since GoDaddy is a popular choice for building websites using its intuitive website builder, knowing how to use it is also crucial. Since most entrepreneurs don’t know how to use it, I’ve written this post to give you a basic overview of how to use GoDaddy to create your own website.
It’s pretty easy to create GoDaddy website with the GoDaddy website maker in 2023. All you need to do is follow the ten steps that I have explained below to create GoDaddy website:

To build a website with GoDaddy, you first need to start your free trial. GoDaddy provides a free monthly trial available to all its users.
I recommend activating your GoDaddy free trial for a month because it will help you gain first-hand experience using the GoDaddy website builder before subscribing to it in the future if you like using it.
Here’s what you need to do:

After you start your GoDaddy free trial, the next step to create GoDaddy website is to pick your website niche. Depending on what type of website you wish to build (blog, eCommerce, news, etc.) and which industry it will cater to (technology, fashion, fitness, sports, medical, etc.) – you will be suggested a GoDaddy theme template accordingly.
Therefore, pick one of the recommended GoDaddy Templates and proceed to the next step.
Now that you have selected a GoDaddy template for your website, it’s time to give it a unique name.
Don’t worry too much about your website name since you are in a free trial and are currently trying to create GoDaddy website for testing purposes. Therefore, think of a unique, creative, and catchy website name.
However, if you already have a registered GoDaddy domain name, you can directly input that name here. If you need help with registering your domain here, you may also contact GoDaddy Customer Service.

After entering your website name, the GoDaddy Website Builder will take you on a tour, explaining its various features. Here, you will learn how to change the theme color, add new web pages and sections, and publish the website. Therefore, do not skip this tour at any cost!
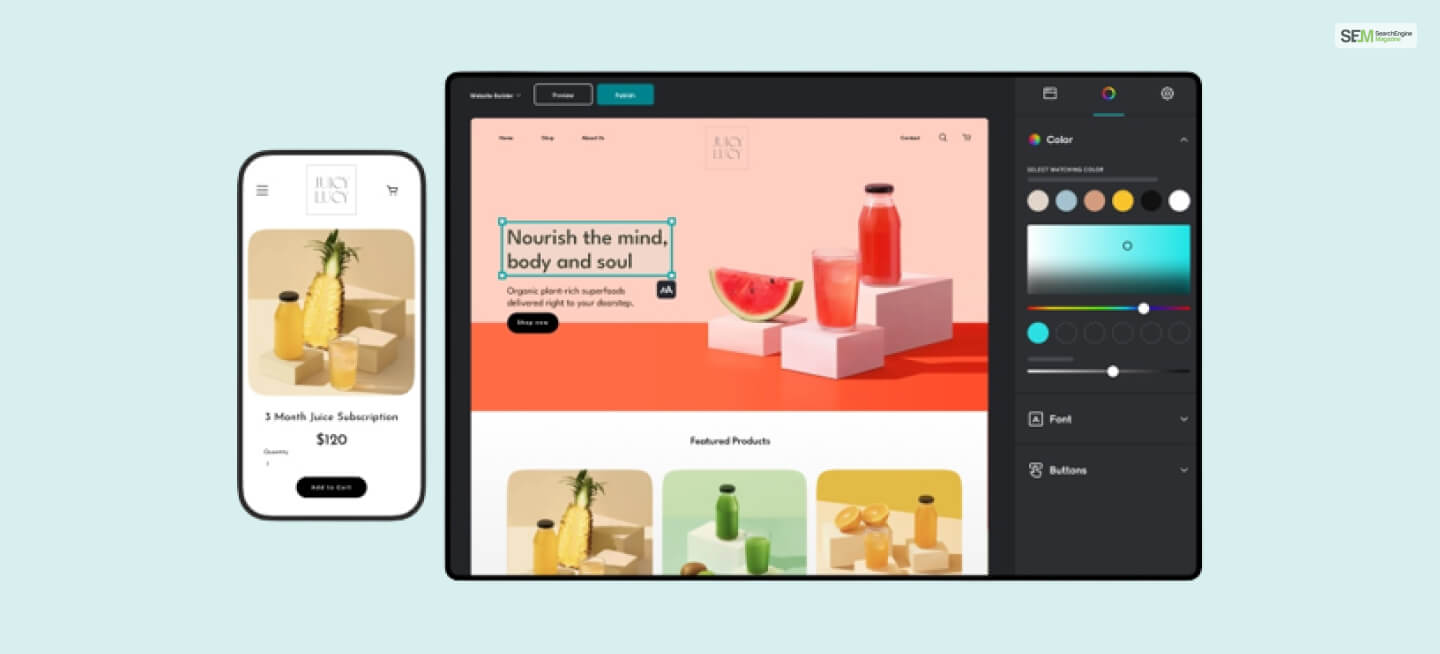
After the virtual tour, the editor will fully open up to you. Here, you will be able to customize your theme. You will be presented with lots of theme options to choose from. You can click on all of them and preview them to see if you like them or not. Plus, you can change them later any time you want!
If you think a theme is perfect for your website, select it. It will automatically be applied to your website. Plus, you can edit various aspects of the theme as well, like its color and layout! Have fun fiddling around with all the customization options here!

Now that you have selected a theme for your website, it’s time to put some images on your web pages.
When you select your niche and theme in the steps before, GoDaddy will already have filled up your website with some stock images. This gives you an idea of how your website will look.
Here, you should replace the stock images with images of your own. To do so, all you need to do is:

It’s a no-brainer that adding images is not the only important aspect of your website. You must input some text to help your webpage visitors understand what your website and the web page is about.
You can add them while you create GoDaddy website in the text boxes of the web pages. In addition, you can also change the test size – which can range from XS (Extra Small) to XL (Extra Large), font type, color, and more!
To do so, all you need to do is:

When you start to create GoDaddy website, you will find that your website already has some preset sections. This includes:
You can edit the content of these sections. Plus, you can click on the “Blue Button” you can see while hovering over these sections. You can click on it and then select the Add Section option to add more sections!
Here, you can choose from a list of sections to add. However, remember that your website can have a maximum of 20 different sections. You can delete sections as well.
Plus, you can add new web pages as well. This can include an About Us page, a Contacts page, a Home page, a Product List page, and more. If you wish to add these pages, then you must click on the Create Page option.

Now this is where the create GoDaddy website process gets a bit technical and complicated. There are various GoDaddy Site Settings you must change as per your requirements. These settings include:

Your domain name is the name of your website. For example – www.godaddy,com. Since you have already given a website title before, ensure that your domain name is the same as that one.
In addition, if you already have purchased a registered domain name, you should enter that here. However, if you wish to purchase one and get serious about developing your own website, you can buy a domain name directly from GoDaddy.

In this last step to create GoDaddy website, all that is left to do is preview and publish your website. Therefore, first, click on the Preview Website button at the top of the GoDaddy free website create the page. Have a look at how your website will look after it goes live.
If you are not satisfied, make all necessary changes now. If you are completely satisfied, click on the Publish button to complete the create GoDaddy website process!
Now that you know how to create GoDaddy website, you can start building the website you always wished to develop and help your business grow further!
If you run into any problems while trying to develop your own website using the GoDaddy website builder, leave a comment down below!
More Resources:
Mashum Mollah is the feature writer of SEM and an SEO Analyst at iDream Agency. Over the last 3 years, He has successfully developed and implemented online marketing, SEO, and conversion campaigns for 50+ businesses of all sizes. He is the co-founder of SMM.
View all Posts
How To Know If Someone Blocked You On iMessag...
Apr 16, 2025
7 Website Design Mistakes That Are Hurting Yo...
Apr 16, 2025
Programmable Dynamic SEO for Location-Based P...
Apr 15, 2025
Google Boba Game: How To Play This Fun Game B...
Apr 11, 2025
Which Is The Best Video Search Engine Of 2025...
Apr 11, 2025

